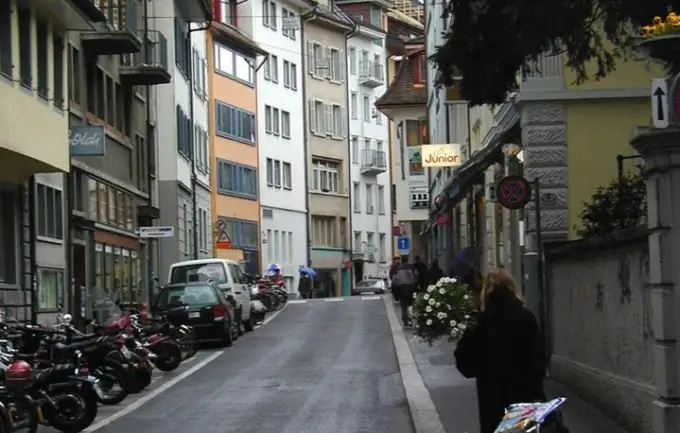
The cityscape is an interesting model for both the beginner and the already experienced artist. Both the landscape of an ancient European city and the urban views of huge megalopolises can become expressive and impressive. One and the same urban area can be depicted in different ways: depending on the time of day, weather and simply the artist's attitude to the city and a specific place in it. What do you need to paint a cityscape?

It is necessary
- You will need:
- - pencils of varying degrees of hardness;
- - eraser;
- - viewfinder frame;
- - drawing paper.
Instructions
Step 1
First, you need to know the laws of linear perspective. For example, standing on a street along which buildings are located, you see how buildings get smaller as you move away. The same thing happens with cars, people: at the end of a long street, they seem completely toy. This happens with vertical lines. With horizontal the situation will be as follows: markings on the roadway, horizontally located lines of building elements, when removed, begin to approach each other, converging at a point.
Step 2
The correct choice of the horizon line is of great importance when drawing a cityscape. You shouldn't do it in the middle of the picture, as such a landscape will look unnatural. It is better if the line goes either above or below the middle. For example, if you are drawing while standing on the ground, the horizon line will be about 1/3 of the paper's size from the bottom edge. If you are drawing from the balcony of the 4-5th floor, then the line will be located high - 1/3 from the top edge of the sheet. You should not draw the horizon line with a ruler so that your landscape does not become more like a drawing, the same applies to other lines.
Step 3
Optimally compose the image on the sheet: vertically, horizontally or in a square, the viewfinder frame will help you. When changing the position of your vantage point, find an option in which the center of the composition is located within the viewfinder, and the rest of the landscape is beautifully filled in the remaining space.
Step 4
It is better to start drawing with the main elements of the composition in the foreground, then in the middle and far. Thus, the horizon line will also be determined. Select the sizes of the largest objects in the center of your composition and outline them in the figure schematically, without drawing details. To begin with, all objects should be mentally simplified to geometric bodies: a cylinder, a cube, a cone, a ball and, as it were, arrange them on a sheet, observing the dimensions of the bodies relative to each other.
Step 5
Only after you succeed in conveying the space in depth through the correct arrangement of the elements of the picture, you can proceed to detailing the picture - drawing small lines, elements, decor, applying shadows. By using pencils of different hardness, you can achieve the most naturalistic look in your landscape.


