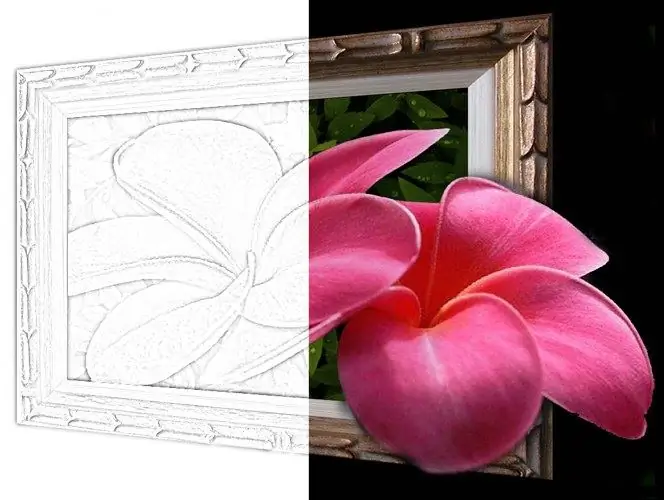
A color photograph can be easily converted into a black and white outline drawing that can be colored with crayons or paints. The graphics editor Photoshop is quite suitable for this task.

It is necessary
- - Photoshop program;
- - the photo.
Instructions
Step 1
A good picture to color in will come from a photograph in which the foreground objects have clear outlines. Load the appropriate snapshot into the graphics editor using the Open option of the File menu.
Step 2
The first thing you need to do is get rid of the flowers in the photo. To do this, copy the only layer that the open file consists of using the Duplicate Layer option of the Layer menu. Apply the Desaturate option from the Adjustments group of the Image menu to the resulting layer.
Step 3
To easily turn a black and white image into an outline image, you can apply the Find Edges filter from the Stylize group of the Filter menu. True, this filter has no settings, and the thickness of the resulting contours is difficult to adjust. If the filter results in too wide outlines and a large number of areas filled with gray, try another method.
Step 4
Duplicate the desaturated image layer and turn the copy into a negative using the Invert option from the Adjustments group. Change the Blending Mode of the negative from Normal to Color Dodge by choosing this mode from the drop-down list that can be seen at the top of the Layers palette. As a result of the last action, you will have a completely white layer.
Step 5
Adjust the thickness of the outlines. To do this, apply a blur to the negative layer, the settings window of which opens with the Gaussian Blur option of the Blur group of the Filter menu. The thickness of the contours of the picture will depend on the radius of the blur. Usually, a radius of two to three pixels is sufficient to obtain a neat image.
Step 6
The picture for coloring is almost ready. To make the kennels a little brighter, merge all the layers except the original background by selecting them and applying the Merge Layers option on the Layer menu. Duplicate the created layer and change its Blending Mode to Color Burn.
Step 7
The resulting picture can be colored in Photoshop or printed on a printer in black and white, and color returned to it using pencils or felt-tip pens.


