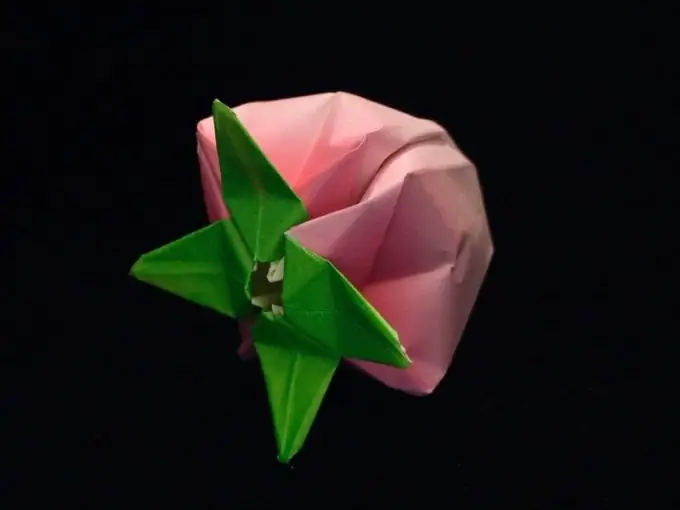
Origami is the ancient Japanese art of folding various shapes out of paper. Knowing how to make at least a few basic forms, you can make decorations for your home yourself, as well as delight your loved ones with original gifts. For example, make an iris flower.

It is necessary
- - paper;
- - scissors;
- - decor
Instructions
Step 1
For origami, you can use special paper, or you can take a multi-colored office paper. Making iris begins with the basic shape of the "Triangle". To do this, cut a square out of a sheet of paper of a suitable color. Fold it diagonally.
Step 2
Lay the piece in front of you so that the drop-down corner is at the top. Now fold the bottom corners "valley" towards the top. Turn the workpiece over.
Step 3
Fold the lower side corners to the centerline, while pulling the triangles on the other side. Iron gently. Turn the resulting part over again.
Step 4
On the middle part of the workpiece, make two folds with a "valley" going to its upper sides from the lower center corner. The sides of the middle section will align with the center line. Iron the folds again.
Step 5
Then fold the side parts of the blank to the top with a "valley", covering the middle of the future flower with them. Making a slight tilt, bend the upper corners of the part towards you. It turned out to be a flower. In order for the product to have a finished look, you need to supplement it with a cup - a stalk made of green paper.
Step 6
To do this, cut out a square that is smaller than for the flower. In the same way, complete the basic shape "Triangle". Fold the bottom corners of the blank with the valley towards the top. Turn the part over. Now attach the lower sides to the center line, while pulling out the triangles from the opposite side. Iron the fold lines. Turn the part over again. To make the cup look neat, hide all sharp corners inward.
Step 7
Insert the finished flower into the stalk. Such a product can be used as a bookmark for a book or to decorate an album, postcards, photo frame with it. You can decorate the flower with sequins, rhinestones, etc.


