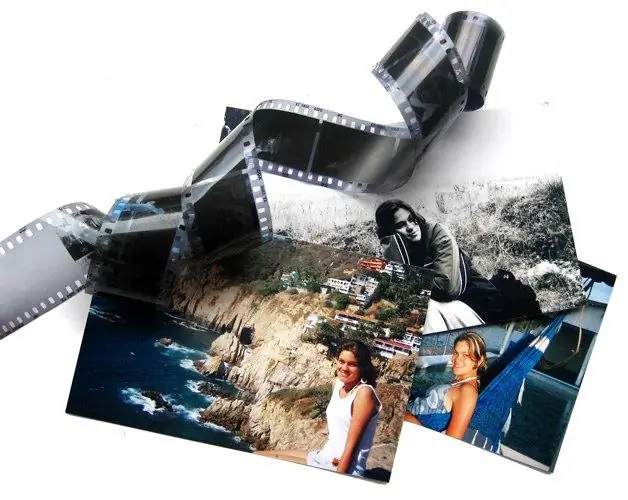
Anyone with Movie Maker installed on their computer can make a video. To do this, you don't even need to shoot anything, just upload a few photos to the editor. But creating a video that will appeal to the audience requires creative imagination and preliminary preparation.

It is necessary
- - video files;
- - photos;
- - software for video editing.
Instructions
Step 1
Before you start uploading work materials to the editing program, decide which video you are going to make: a greeting card, presentation, travel cut, music video or photo essay in clip format. Think about who will watch your video. It may turn out that images that are understandable and familiar to your closest friends will not be understood by a wider audience.
Step 2
Having figured out what and for whom you are doing, watch videos of similar topics uploaded to the Internet. They can be found on video hosting or social networks by typing a few keywords into the search bar. Remember the good techniques used by the authors of these clips.
Step 3
Bring order to the creative chaos: write a video script, storyboard, or cutout. If your video will include a plot, indicate the characters in the script and briefly describe the setting.
Step 4
For a congratulatory video or video for which the storyline is difficult to distinguish, draw a storyboard - a series of sketchy pictures that show you how the objects are located in each plane of your video. Use the arrows to indicate the direction of movement of the objects. This storyboard is also useful if you are going to shoot your own video, and not edit ready-made footage.
Step 5
If you need to cut from an already captured video, import the file into the video editor, transfer it to the timeline and cut into separate scenes. Write down the start and end time codes of each scene on a piece of paper or word processor document, and briefly describe the contents of the scene. This will help you more accurately determine which scenes will be included in the final video, and which ones can be safely discarded.
Step 6
Sound is also an important part of the video. Find the right soundtrack for your clip. It could be music or noises. For the voice acting of a video made as a photo essay, a recording of a story about events, which is illustrated by photographs inserted into the video sequence, is suitable.
Step 7
Choose an editing program that suits your purpose. For simple editing and adding standard effects and transitions, Movie Maker is suitable. VirtualDub allows for color manipulation and video stabilization. Editors like Canopus Edius and Adobe Premiere can work with multiple video tracks and adjust their transparency. A short video with lots of animated infographics can be made in Adobe After Effects.
Step 8
Collect the finished materials in the video editor and arrange them on the timeline as provided in your script or storyboard. Add sound to your project and preview the result. Cut or split the episodes that have turned out to be prolonged by cutting the clip and pasting in this place any excerpt that fits the meaning.
Step 9
Save the project file. This will allow you to return to editing the clip at any time. To view and upload to the Internet, save the final video in one of the video formats: avi, mpeg, wmv or vob.


