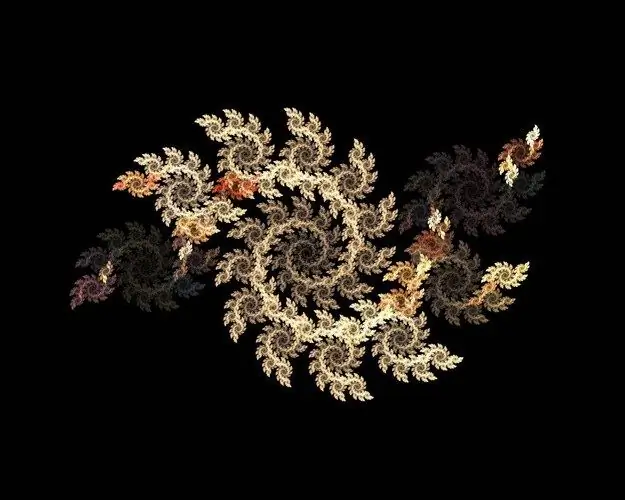
A fractal is a complex geometric figure, each part of which is similar to the whole figure. Snowflakes, tree crowns, and texts composed of repeating elements like the story about the priest and his dog have fractal properties. In computer graphics, fractals are used to depict natural objects and create abstract backgrounds. You can create a fractal image using a special program, plug-in or standard tools of a graphic editor.

It is necessary
Graphic editor Photoshop
Instructions
Step 1
An object with fractal properties can be drawn without using fractal generators. The main idea of creating such an image is to copy the elements that make up the picture and apply transformations to them. To start drawing a fractal, create a document of any size in the RGB color mode in Photoshop.
Step 2
Fill the background layer with any dark color. This can be done with the Paint Bucket Tool. The background will not affect the created fractal, and after finishing the work, you can change its color, fill it with a gradient or texture.
Step 3
Draw the element that the shape will be composed of. To do this, select one of the selection tools: Rectangular Marquee Tool, Elliptical Marquee Tool or one of the Lasso group tools and draw the outline of the element.
Step 4
Create a new layer using the Layer option from the New group of the Layer menu. On this layer, fill the selection with any color other than black. Press Ctrl + D to deselect.
Step 5
To create a volume, open the context menu by clicking on the shape layer and select the Blending Options item. Check the boxes for Drop Shadow and Bevel and Emboss.
Step 6
Duplicate the shape layer using the Dublicate Layer option from the Layer menu. Reduce the image to eighty percent. This can be done using the Scale option in the Transform group from the Edit menu. Enter a percentage in the box below the main menu.
Step 7
Move the shape to either side a few pixels. To do this, click on the Move Tool and move the image with the arrow keys.
Step 8
Duplicate the layer you just created one more time. Apply the same transformations to the created copy of the shape.
Step 9
Select all three shape layers in the layers palette and merge them into one layer using the Merge Layers option from the Layer menu. Reduce the size of the shape to fifty percent.
Step 10
Duplicate the image. Reduce the copy size to eighty percent and rotate it twenty degrees. To do this, use the Rotate option from the Transform group of the Edit menu and enter the amount of rotation in degrees in the Rotate field under the main menu.
Step 11
Duplicate the modified layer and apply the same transformations to the copy. You should get nine layers this way. Merge the resulting layers into one, slightly reduce the resulting shape and again create nine copies of the layer, sequentially transforming each of them. To get wider shapes, add the same number of pixels to either side of the transform set.
Step 12
At this stage of work, you should have a fairly complex structure. To get a more interesting result, duplicate the layer with the resulting shape several times without applying additional transformations. With the help of the Move Tool move the copies so as to make a new shape out of them. Merge the layers, reduce the image and use the resulting image as the original shape for the new fractal.
Step 13
Save the final image to a psd file using the Save option from the File menu if you want to save the file with the fractal and background on different layers. For all other purposes, save a copy of the picture with the Save As option in.jpg"


