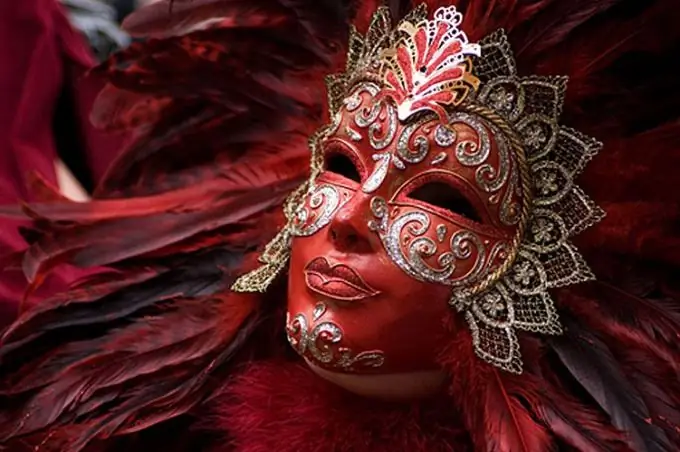
Masks are very expressive and effective elements of carnival costumes. With the help of only one mask, you can easily create a recognizable and colorful image of any character, even without the use of specific clothing. A stylish and richly decorated mask can be just a luxurious accessory for an evening dress. Venice is especially famous for its masks, but a ready-made Venetian mask is fabulously expensive. However, if you wish, you can make it yourself.

It is necessary
- - plastic blank of the mask, covered with soil;
- - acrylic paints;
- - brushes;
- - aerosol paints (including those with a metallic effect);
- - lace, rhinestones, feathers, satin ribbons, decorative braids and other materials for decoration;
- - pieces of torn paper for additional papier-mâché parts;
- - stick-holder of the mask;
- - glue (PVA, "Moment", hot glue gun).
Instructions
Step 1
Take the blank mask of the selected character. Consider the design of the mask depending on which character's mask you have to decorate. Explore classic examples of similar masks and use their characteristic features for decoration. Choose the necessary materials: paint in the main color, additional colors, various decorative elements for decoration.
Step 2
If necessary, make additional parts of the mask out of papier-mâché that can be glued to its base. These can be cat or bunny ears, butterfly wings, a long nose, a crown, or some kind of fancy asymmetrical shape.
Step 3
Draw the outline of the part on the cardboard. Stick the surface of the cardboard inside the contour with plasticine, and then stick another thick layer, giving it the required volume. Spread the clay with Vaseline and place the first layer of torn newsprint on top of it. Then smear the form with paste and paste over it with several layers of paper. When the paper layer is thick enough, let the papier-mâché dry for 10-12 hours. Glue the part separated from the plasticine, trimmed with scissors and sanded with fine sandpaper to the base of the mask.
Step 4
Glue a long and sturdy stick to one side of the mask (where it is more comfortable for you to hold it). The place of gluing can be masked with a layer of papier-mâché mass.
Step 5
Paint the mask in accordance with the design with acrylic paints - paints will fit well on the finished primer. Use an airbrush to create smooth color transitions.
Step 6
The mask looks very stylish with the effect of antiquity - with imitation of cracks and scuffs, which are best seen on a white background. Use sandpaper to rub the white painted surface of the mask. The craquelure (cracked surface) effect can be achieved with a special varnish available from art stores. You can also draw cracks with a simple pencil.
Step 7
At the bottom of the mask that covers half of the face, you can glue a thin veil or silk fringe. Place circular rows of colored feathers or rhinestones around the eye holes. Glue the contours of the mask with a thin snake tape or exquisite lace. The edges can also be sprayed with bronze or silver paint.
Step 8
At the point where the stick-handle is attached to the mask, glue a satin bow, long ribbons, a silk scarf beautifully draped with a flower with a glue gun. You can decorate this item with rhinestones or beads. Wrap the handle itself with a satin ribbon or paint.


