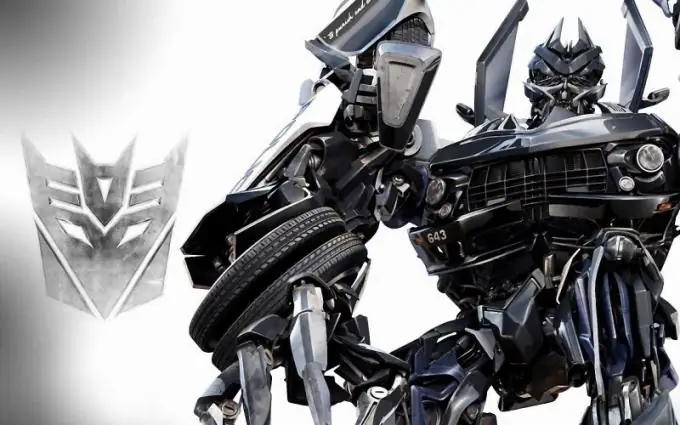
Boys are very fond of drawing various techniques, especially transformers, the heroes of the animated series of the same name, and now the film. It's no big deal to come up with and draw your own robot.

It is necessary
A sheet of paper, a simple pencil, an eraser
Instructions
Step 1
Prepare the materials you need for the job. It is best to place the sheet of paper vertically. With a simple pencil, start sketching. For now, designate all parts of the body of the future transformer in the form of circles and ovals.
Step 2
Start with the head by drawing it in a circle, just above the middle of the sheet. Then outline the ribcage of the robot (usually very developed in transformers) in the form of a large circle or an inverted trapezoid with rounded corners. Next, sketch out the round shoulders, forearms, and hands. Move to the bottom of the character. Mark the pelvis in the form of a circle (it is the same size as the head). After that, in the form of triangles, mark the legs, similar to the columns. Draw a vertical midline along the outline of the body.
Step 3
Start drawing the transformer from the character's face. At this stage, connect your imagination. Draw small rectangular eyes, a mouth protected by a "mask", metal ears (possibly antennas instead of them). Merge the head with the body with a powerful neck. Get rid of rounded details. Draw the shoulders straight, the elbows pointed.
Step 4
You can decorate the chest of the transformer with various identification marks. Draw several lines along the shape of the body, as if the chest is "cut" from several parts. Merge the ribcage with the pelvis, on which also draw a geometric pattern from the inserts. At the joints of the limbs (elbows, knees), outline the "rivets" in the form of small rectangles.
Step 5
Draw the hands in a clamped position (fist). Draw clear lines, leave sharp corners at the folds. Make your legs more stable by drawing a "platform" on the feet. You can also add various inserts. Use the eraser to remove unnecessary lines.
Step 6
Begin to overlay the hatching on top of the drawing, gradually going down. Determine in advance from which side the light will fall. Parts in the shadow can be covered with cross-hatching. Rub with a piece of paper, this will give a metallic shine to the transformer. Use the eraser to apply highlights. Sharpen the pencil and trace the outline and details of the character.


