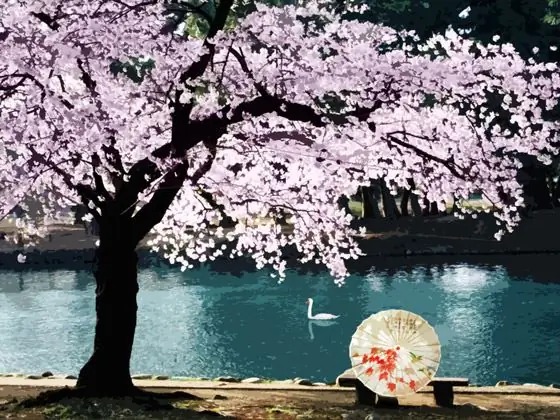
Any flowering tree inspires artists with its beauty for new creativity, but the blooming sakura looks especially beautiful, which is an object of admiration not only for the Japanese, but also for all other people. You can draw a blooming sakura in the wind using Adobe Photoshop tools. The tools of this program will help you create a stylized image of sakura in delicate pastel colors.

Instructions
Step 1
To paint, use the Leaves Group Brush - a brush with a group of leaves can be downloaded from the Internet and installed in the Photoshop brushes palette. Having chosen purple color on the palette, create the main outlines of the sakura and paint over the base. After that, select a light pink color and use the same brush to work on the base.
Step 2
Use a different brush size to get a more realistic and beautiful texture at the edges of the cherry blossom. Determine the light source and add more purple in the part of the tree that is most shaded. Add more light pink to the part of the top of the sakura's head where the light is falling. Highlight the lightest areas with an even more pastel shade of pink.
Step 3
Having created the base of the crown of the tree, proceed to drawing the trunk. Grab the Pen tool 2 pixels thick from the toolbox and draw the outlines of the curving trunk with light movements. Then draw loose and light branches without overloading the top of the tree. Don't draw too many small and detailed branches - a sketchy drawing is enough.
Step 4
Use the Chalk brush tool to shade the trunk and branches. Use the Midtones Dodge and Burn functions with this tool to lighten and darken areas of your drawing.
Step 5
Set the Chalk Brush to a small size and a low opacity. With this brush, paint highlights and shadows using light pink and dark purple, respectively. Draw highlights and shadows on a new layer, and erase the excess with a soft eraser.
Step 6
Paint over the ground with forest green using a soft brush. To make the grass look textured and realistic, take the Grass Brush and go over the green field with this brush. Use this brush to brush over the base of the tree so that the trunk does not strongly contrast with the ground.
Step 7
Paint the sky blue and paint the clouds with the Cloud brush. Make the clouds light and transparent, and use a dark purple color and the Opacity parameter to apply shadows to them.
Step 8
Finally, draw falling leaves under the crown of the tree, and then use the Curves option to adjust the color rendition of the picture. Make the colors more pastel and softer.


