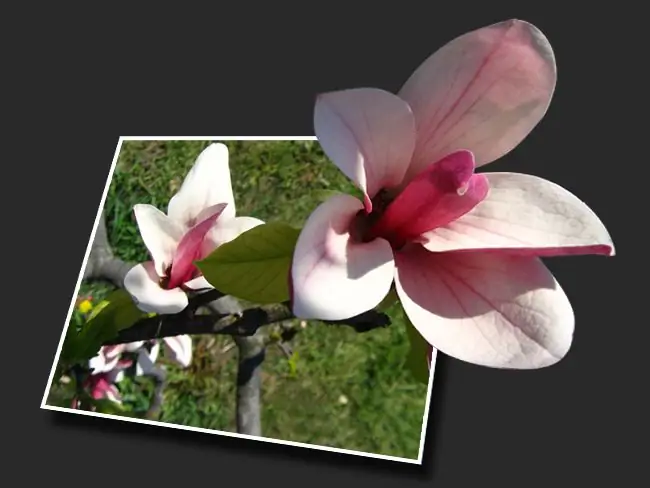
The ability to work in Photoshop gives you the opportunity not only to retouch photographs and add beautiful color effects to them, but also radically transform photographs, making them unusual and eye-catching. For example, you can create an original image from any 2D photograph that simulates 3D space. This effect will liven up your photo, give it dynamism and brightness.

Instructions
Step 1
Load the desired photo into Photoshop and then select the Rectangular Marquee Tool option from the toolbar. Select the rectangular area of the photo that you want to process, and then save the selection as a channel - to do this, open the Channels palette and click on the "Save selection as channel" button.
Step 2
Now you need to select some object inside the photo - for example, a flower. Use the Pen Tool to select. The Polygonal Lasso Tool is also suitable for you.
Step 3
With the object selected, copy it to a new layer (Layer via copy), and then open the Paths palette, hold down the Ctrl key and click on the icon of the created selection to get another layer.
Step 4
Now copy the original layer, Deselect and Duplicate Layer. Open the Channels palette and select the selection you saved as the channel just above.
Step 5
Select it and invert it by pressing Ctrl + Shift + I. Press Delete to delete the inverted selection on the copied layer.
Step 6
Hold down the Shift key and select both layers, then choose the Free Transform option from the Edit menu and drag the corner handles of the picture for the best result. Then create the background you want - upload any image or just fill the background image with one color.
Step 7
Deselect and then add some effects in the Layer Style - Drop Shadow and Stroke.


