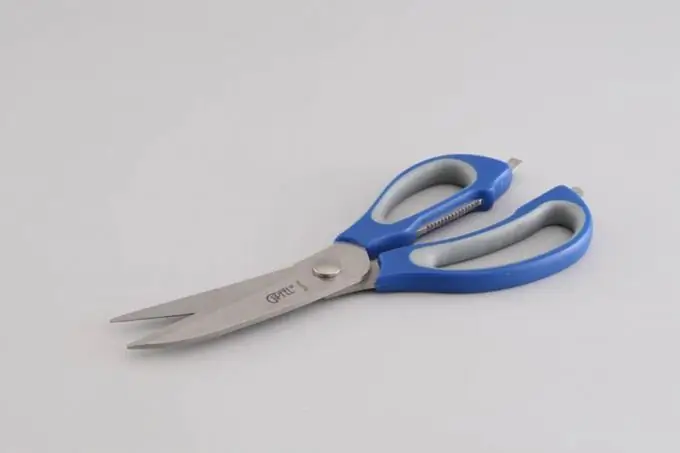
In order to draw such a simple tool as scissors, you need to know about the peculiarities of using these or those structures in various fields and apply the simplest knowledge from the geometry course about the axis of symmetry.

It is necessary
- - paper;
- - a simple pencil;
- - eraser;
- - paints or pencils.
Instructions
Step 1
Think about what kind of scissors you want to portray. Depending on the work performed by the tool, its shape and appearance can vary significantly. So, manicure scissors have bent ends, hairdressing scissors can be equipped with a special protrusion for a finger on a ring, for sewing or clerical scissors one hole is much larger, and for kitchen scissors they both allow you to accommodate several fingers.
Step 2
Draw an auxiliary line. It serves to set the direction of the blades. If the scissors are not symmetrical about the centerline, for example, in the shape of a bird, draw two intersecting straight lines, the angle between them should correspond to the degree of curvature of the tool.
Step 3
Mark the point where the 2 pieces of scissors will be fastened together with a stud, draw a small circle.
Step 4
Draw in one of the details. Since right-handed scissors are massively produced, the part that is located on top has a left blade and a right ring if you put the tool with the tip away from you. First, draw the blade, its geometric center should lie on the axis of symmetry, the sharp edge should be directed to the right. Then create a bend, take the lines to the right, finish the structure with a ring. If you are drawing with sewing or stationery scissors, you can make this hole larger.
Step 5
Draw the second detail. If you are drawing symmetrical scissors, you need to draw the exact same blade, turned in the opposite direction relative to the axis of symmetry. At the same time, its sharp edge should be hidden behind the first part if you draw the tool in a folded state.
Step 6
Draw additional elements on the scissors. It can be plastic or rubber inserts, sharpening saddles, a brand, the name of the manufacturer.
Step 7
Start coloring. For metallic details use shades of gray, highlight highlights, shadow areas. In addition, strokes of a hard flat brush can be used to mark the marks of the sharpened blades.


