After reading a fairy tale about knights, many children often have a desire to draw an old castle with stone towers, flags, etc. Drawing this architectural structure is by no means easy, so drawing with a pencil is the best option for learning how to draw a castle.
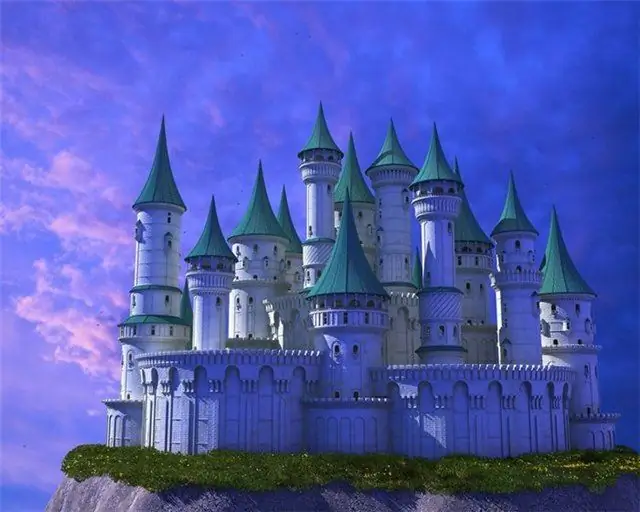
It is necessary
- - album sheet;
- - pencil;
- - eraser.
Instructions
Step 1
The first step is to prepare the workplace and sit comfortably. Put the sheet in front of you vertically, pick up a pencil and, lightly pressing on it, outline the outlines of the future castle: dimensions, height, etc.
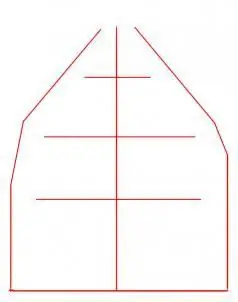
Step 2
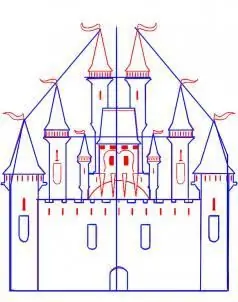
Further, based on the previously prepared outlines, try to draw the lower tier of the castle, arrange small turrets, and give the structure symmetry. It is worth remembering that the widest column should be in the center of the picture.
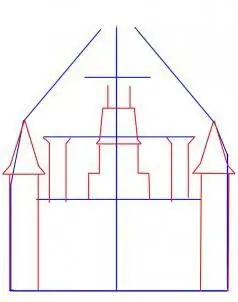
Step 3
The next stage is the decoration of the second tier of the castle: turrets, columns and other things. To make the drawing more even, you can use a ruler when drawing, and you can use it both to determine the correct distance between the towers and to draw them (if you look at the castle, you can see that almost all the details of the drawing resemble geometric shapes: squares, rectangles, triangles).
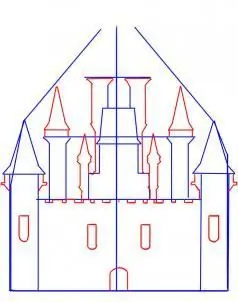
Step 4
The next stage is the design of flags, windows and doors. You can arrange them in any order, but the picture will look more interesting if these elements are arranged symmetrically.
Step 5
The final step is to remove excess lines with an eraser. The drawing is ready, you can leave it that way, or you can paint it with paints or lightly shade it with an ordinary pencil.


