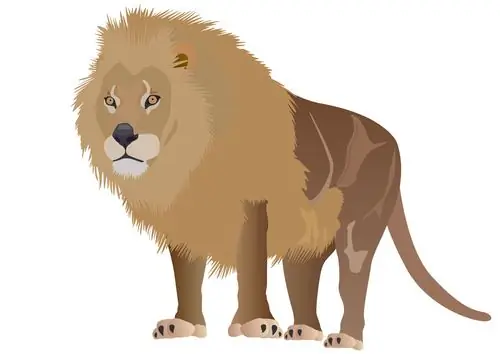
Drawing wild animals seems difficult at first glance. The image of any wild cat, including the king of nature - the lion, is based on a system of geometric shapes, as well as color transitions in the image of wool. To draw a lion with your own hands, use watercolor, pencil, heavy paper and an eraser to erase the preliminary lines.

Instructions
Step 1
Determine the location on the sheet where the lion's head will be located (for example, in the center). Draw a slightly elongated circle, and then, from the middle of the circle, draw oblique lines along the sides, depicting the wide neck and mane of the beast.
Step 2
Now move on to drawing the lion's face. There should be a blank space between the eyes equal to the width of two eyes. Keep this in mind when placing your eyes in the drawing.
Step 3
The width of the lion's nose should be exactly the width of the distance between the eyes. There should be a distance equal to one more eye to the lateral borders of the muzzle from each eye.
Step 4
Draw in proportion to the size of the muzzle, the eyes, the oblong nose and the lines of the mouth. Draw rounded ears and a shaggy mane around the muzzle.
Step 5
To achieve a realistic effect in your drawing, overlay transparent layers of watercolor on top of each other. Blend the colors to create a light yellowish tint and paint over the lion's head with a brush.
Step 6
Brighten up the shade by adding a tawny brown color and brush in the shade in areas that should be darker.
Step 7
The brighter areas of the muzzle should remain lighter. Take a reddish color and paint it over the darkest area of the lion's head, marking out the darker areas of the mane.
Step 8
Use black paint to mark the areas of bright and dense shadow on the right side of the muzzle, as well as in some places of the mane. This will make the drawing contrast and volumetric, as well as create the effect of bright sunlight.
Step 9
To prevent the border between black and yellowish tones from being too harsh, blur it with water.
Step 10
Take a brighter reddish color and brush it over the lion's nose, cheeks and mane to make it brighter and more visible. Leave some places untouched to leave the volume and lightness of the picture.
Step 11
Use a thin brush with a dark color to detail the drawing - add details of the fur, make the lion's look more authentic, outline the mustache, and paint a slightly noticeable bluish background around the lion.


