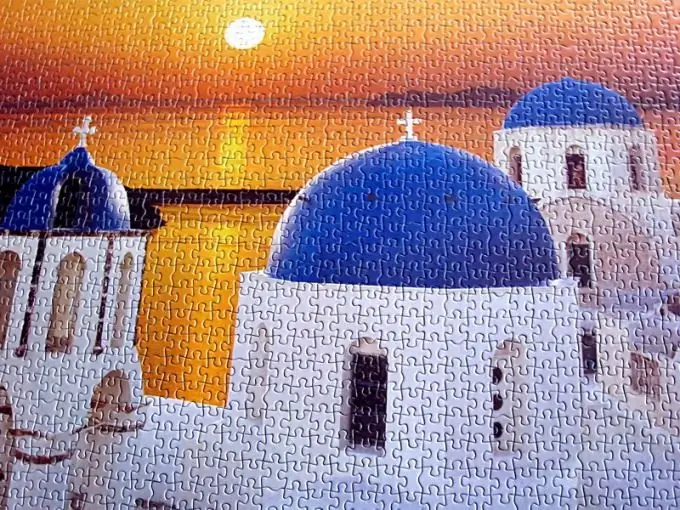
Collecting a beautiful piece of puzzles, you will not only have a pleasant time, but also diversify your interior. High-quality printing, which is used when drawing a picture, allows you to use the compiled picture for room decor. Insert the finished puzzle into the frame and place it in a suitable place of the apartment.

It is necessary
- - cardboard or watercolor paper;
- - PVA glue;
- - wide brush;
- - ceiling plinth;
- - furniture stapler;
- - film for food products;
- - paper tape;
- - scissors.
Instructions
Step 1
Find a suitable base on which to assemble the puzzles. It must be firm enough so that when the finished puzzle is turned over, individual elements are not damaged or crumbled. Look at the box for the length and width of the future painting and take a slightly larger substrate. Thick cardboard, a piece of countertop or hardboard are well suited as a base.
Step 2
Assemble the drawing on a substrate. Now it needs to be turned over. If the picture is small or you have an assistant, cover the puzzles with a piece of cardboard or watercolor paper. Press firmly around the edges with your hands and turn the design over with the backing.
Step 3
You can use another method. Tape the finished picture to the base on which you assembled it with transparent food grade film. Wrap in several layers, leaving no gaps. Turn the design over and cut the film in the middle from one edge to the other. Unfold its edges and remove the backing.
Step 4
This is the reverse side of the puzzles. Apply PVA glue to it. For convenience, use a wide paint brush or hair dye brush. Thoroughly coat the entire surface of the design. Don't worry about the glue seeping out. When dry, PVA becomes transparent.
Step 5
Attach an appropriate sheet of heavy paper or cardboard to the back of your painting. To make it stick evenly, cover the surface with the base on which the picture was collected. Spread heavy magazines or books on top and let sit for a few hours.
Step 6
You can fasten the reverse side of the picture from the puzzles in another way. Use paper tape. Attach it over the entire surface of the assembled pattern. Be careful not to move the elements of the picture. With this option, the puzzles can already be inserted into the finished frame with a backing.
Step 7
Create a frame for the assembled puzzle piece. Resize the resulting painting. Purchase the required amount of polyurethane ceiling plinth. Choose the pattern of the skirting board according to your taste and interior.
Step 8
Place the skirting board in the miter box and cut to size at a 45 degree angle. Then the joints at the frame will look solid, like a real baguette.
Step 9
Secure the ceiling plinth in the corners with a furniture stapler. Place the finished piece on the puzzle piece. Glue the edges with glue and glue the frame to the picture. Attach the string to hang the picture with a furniture stapler to the backing.


