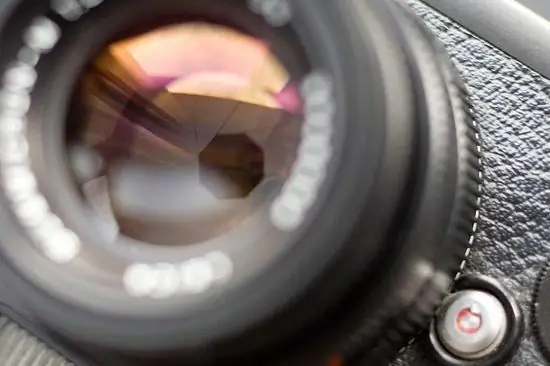
Many aspiring photographers get dark shots. As a rule, this problem is typical for owners of SLR cameras, in which the range of manual settings is very wide. To prevent your photos from getting too dark, you need to properly set up your camera before shooting.

First, you need to figure out what exactly is responsible for the brightness of the resulting photos. The main criterion for the brightness of a photograph is light, or rather, the amount of light hitting the camera's matrix (or film) at the time of shooting. The light is controlled by two main parameters: the aperture number and the shutter speed. Aperture is a device that sets and changes the amount of light entering the camera. Shutter speed is the time interval during which the shutter of the camera is open for access to light. That is, if the aperture doses light by quantity, the shutter speed is by time. The wider the aperture is open and the longer the shutter speed, the brighter the photo will turn out, and vice versa. Novice photographers, when shooting at night or just indoors, often incorrectly set the parameters of aperture and shutter speed, which results in too dark photos. The darker the environment, the more the aperture should be opened (for an open aperture, the numbers are from F 1.1. To F 5.6). If even the widest aperture does not give enough light, you should increase the exposure time (measured in seconds and fractions of a second), but keep in mind that the longer the shutter speed, the more blurry the photo can be. Long exposure photography is best done with a tripod or using a static surface to avoid blurring the image. It is possible that a tripod or required surface is not at hand, and shooting handheld at the maximum allowable exposure gives a photo that is too dark. In this case, you can change the sensitivity settings - ISO. The higher the ISO speed, the brighter the image will be, but such a photo can "grain" - lose clarity due to excessive excess of photo noise due to increased sensitivity.


