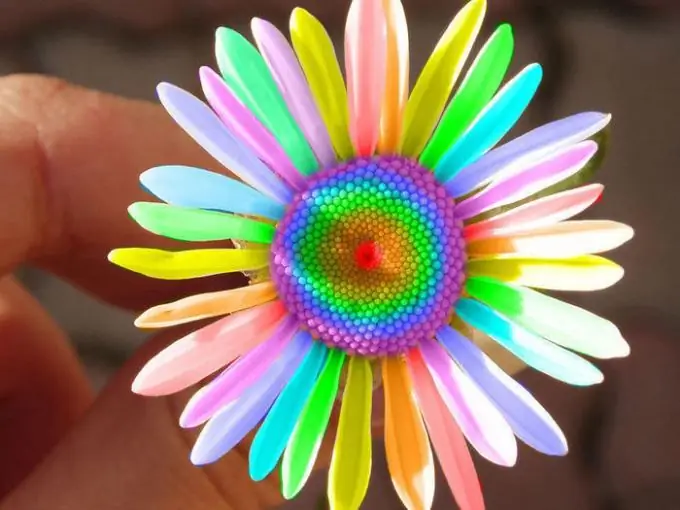
Suppose you have an image that you generally like, but would like to make it brighter and more saturated. Using various techniques of Adobe Photoshop, you can add photos of brightness, showiness and impressiveness. Of course, it all depends on your skills in working with this program, and, guided by a stormy imagination, you can change the image beyond recognition, but if you are not fluent in this program, then you can find instructions below. By following it, you can noticeably improve your image. So let's get started.

Instructions
Step 1
Open Adobe Photoshop. In it, open the photo you want to retouch.
Step 2
Apply "Filter" - "Sharpness" - "Sharpness" (Filter - Sharpen - Sharpen).
Step 3
Apply "Image" - "Correction" - "Levels" (Images - Adjustement - Levels) or just press "Ctrl + L". Set the following parameters:
Input Levels - 13, 1.09, 241
Output Levels - 0, 225
Step 4
Duplicate the layer, set the blending mode to "Lightening" (Blending options - screen), set the opacity to 39%.
Step 5
Then apply "Image" - "Correction" - "Color balance" (Images - Adjustement - Color balance). Set the following parameters:
S: -62, +20, +47
M: +33, -17, +6
H: -9, +5, +25
Step 6
Now create a new layer, fill it with # faf2ca, set the Blending options to screen, set the Opacity to about 31%.
Step 7
Create a new layer again and fill with #bebebe color. Set the Blending Mode of the layers to Luminostry and the Opacity of this layer is 31%.
Step 8
Duplicate the previous layer, set the Blending Mode to Screen and Opacity 38%.
Step 9
Go to "Image" - "Correction" - "Color Balance" (Images - Adjustement - Color Balance). Set parameters:
+53, -33, +17
Step 10
Create a new layer, fill it with color # 0d004c, blend mode "Exclusion", opacity - 54%.
Step 11
Duplicate the previous layer, set the Blending Mode to "Soft Light" (Soft Ligth), set the Opacity to 50%.
Step 12
Using the Burn Tool (similar to a hand with thumb and forefinger connected), set a soft brush size 65, Midtones, Opacity 50%. Use this tool to darken some areas on the cheeks, hair, arms, etc.
Step 13
Now duplicate the background image, put this layer on top, desaturate. Set the Blending Mode to Soft Light, Opacity 47%.
Step 14
Now add brushes and text to the image if needed. Merge all layers. Your image is now complete.


