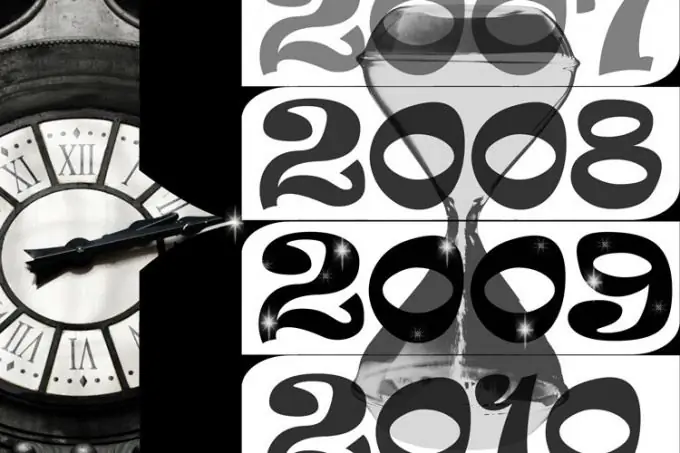
One possible way to illustrate non-material concepts is to use images of objects that are associated with them. To embody the idea of time, an image of a clock is suitable, on the basis of which you can make a collage in the Photoshop editor.

It is necessary
Photoshop program
Instructions
Step 1
Use Ctrl + N to create a document in Photoshop with a black background. Press the D key to return the foreground and background colors to their default settings.
Step 2
Apply the Clouds filter to the only existing layer, which is enabled by the Render option in the Filter menu. Press Ctrl + J to duplicate the layer with the results of the filter and overlay it on the original image in the Overlay mode.
Step 3
Press Shift + Ctrl + N to paste a new layer into the file and, using the Rectangular Marquee Tool, draw a rectangular selection that matches the width of the canvas. The height of the rectangle should be about a third of the height of the document. Using the Fill option in the Edit menu, fill the created shape with white.
Step 4
Blur the rectangle with the Gaussian Blur filter, turning it on with the option from the Blur group in the Filter menu, so that the feathered area reaches the borders of the canvas. Twirl the resulting image into a spiral with the Twirl option in the Distort group in the Filter menu with the maximum Angle value.
Step 5
Process the background layer with the same filter. Move the white spiral under the top layer and change its blending mode to Screen ("Lightening"). In this way, you got the background that you need to convey the idea of the movement of time and the clock hands in a circle.
Step 6
For the created collage, a schematic image of a watch in the form of a wide ring with numbers and hands will be enough. To draw such a picture, insert another layer into the file and select a round area on it with the Elliptical Marquee tool. Hold down the Shift key to get a circle. Fill the shape with black. In the middle of the black circle, create another smaller circular selection and delete the selected middle with the Clear option from the Edit menu.
Step 7
To draw characters evenly spaced along the circle, use the Ellipse tool ("Ellipse") in Paths mode ("Paths") to match the size of the inner ring of the dial. With the Horizontal Type Tool enabled, click on this path and draw white numbers.
Step 8
Add two new layers on top of the signs. On each of them, create a selection in the form of a highly elongated rhombus with the Polygonal Lasso tool and fill it with white. The hour hand should be shorter and wider than the minute hand. Using the Rotate option of the Transform group in the Edit menu, rotate the shapes to the desired angle. Use the Move Tool to move.
Step 9
To keep the watch from falling apart, put it in a group. To do this, select the layers with the black ring, numbers and arrows and apply the combination Ctrl + G. Put the created group on the background in the Overlay mode and reduce its opacity by adjusting the Opacity parameter in the layers palette.
Step 10
Color in the image using a gradient map. To do this, select the Gradient Map option in the New Adjustment Layer group from the Layer menu, click on the gradient strip in the dialog box and apply a suitable two-color swatch from the palette that opens. Place the created layer on the image in Color mode.
Step 11
Use the Save option on the File menu to save the created image.


