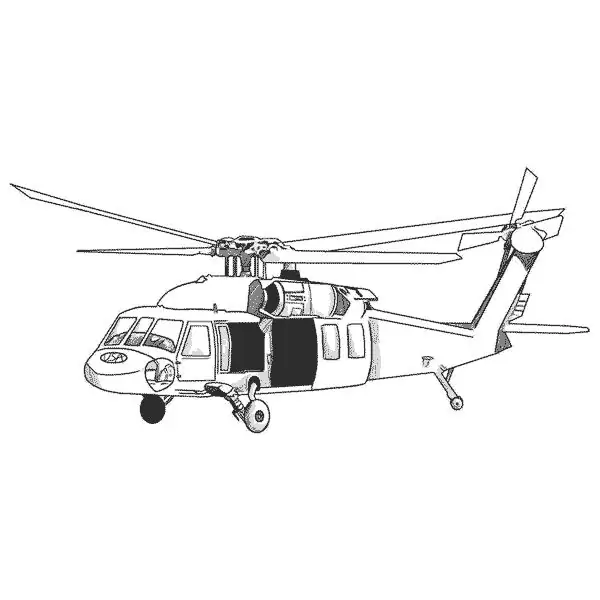
Helicopters and airplanes have long attracted both children and adults who enjoy modeling and recreating the smallest details of military aircraft in scaled-down models, and many also enjoy drawing such equipment. Drawing a helicopter is not so difficult if you follow a simple step-by-step instruction that will help you understand the basic elements of a helicopter shape.

Instructions
Step 1
First, take a pencil and draw an elongated, even-shaped oval on a piece of paper. The length of the oval should be four times its height. Now draw a small circle on the left side of the oval and mark two horizontal lines inside it that will become the borders of the front windows, indicating their top and bottom edges. Draw the upper part of the future helicopter to the oval.
Step 2
Draw another small oval, which should be smaller than the main oval. The length of the top piece should only be twice its height. Connect the top oval with a straight line to the bottom oval.
Step 3
Now sketch out the outlines of the propeller blades, with the help of which the helicopter rises into the air - to do this, draw several straight lines coming out of the upper small oval, positioning them in the same way as the helicopter blades should be located.
Step 4
Bend the nose of the helicopter slightly, and then use the auxiliary lines to outline the outlines of the windows. Draw the windows from left to right, and then draw the front car door and side doors. Draw the contours of the tail with clear and even lines, observing the proportionality of its shape and the correctness of the angles. In order for the tail pattern to correspond to reality, be guided by the photo of a real helicopter.
Step 5
Detail the shapes of the blades, draw the general shape of the propeller and connect it with four rods to the top of the helicopter. Make the nose of the helicopter arched, and then add a small oval under the body of the helicopter. On the tail, add the blades of the small rotor, and then finalize the detailed shape of the upper rotor.
Step 6
Take a close look at a real helicopter, and then modify the drawing - add to it a number of elements necessary in the design of any helicopter, draw the wheels. Show the areas of light and shadow with hatching so that the helicopter gains volume.


