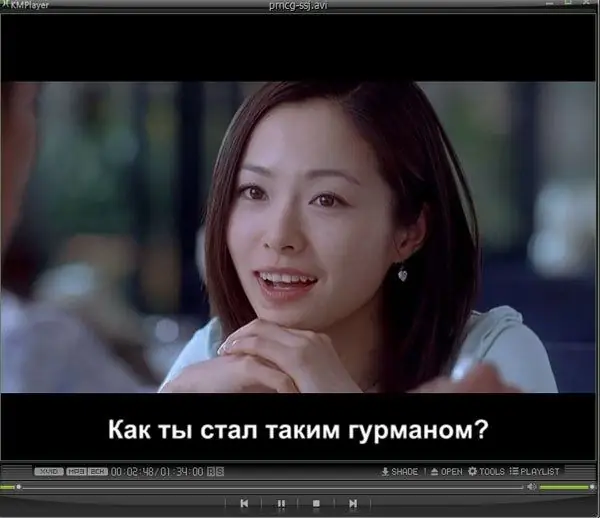
Some American films, recorded in certain formats, are accompanied by subtitles - text captions that duplicate all the lines of screen characters. The text on the screen does not always appear automatically: sometimes you need to launch it or even install a special program for subtitles.

Instructions
Step 1
Make sure the format in which your American movie is recorded supports subtitle playback. To do this, the movie must be ripped from a DVD and must be a DivX video file. As a rule, the size of such a file for a full-length picture is at least 700 megabytes.
Step 2
Search on the Internet on one of the specialized sites for the subtitles for the movie you need, if you do not already have them. You can just ask in the search engine a query: "Russian subtitles" and indicate the movie that you are going to watch. Keep in mind that the quality of the texts for American films, translated by volunteers, "heaped", often leaves much to be desired. Look for professional translations, there are plenty of them online.
Step 3
Install or open a player software that supports playback of subtitles. The most common of them are BSplayer, miniPlayer, Light Alloy and others. The standard Windows Media Player program allows you to turn on subtitles only if you have the DivX G400 utility (service) installed.
Step 4
Download VobSub, a program that helps you watch uncredited movies. VobSub helps to synchronize subtitles, change their font, and with the TextSub filter and the VirtualDub utility - “glue” the subtitles and video image so that when the movie is viewed again, it will automatically start with the titles.
Step 5
Copy the movie file and the text file with subtitles into the same folder, giving them the same names, for example: Titanic [DivX].avi for movies and Titanic [DivX].srt for subtitles. Besides srt, subtitles can be in sub, pcb, ass, ssa, smi formats. With the same file names set, the subtitles will be played on the screen automatically when the movie is turned on.


