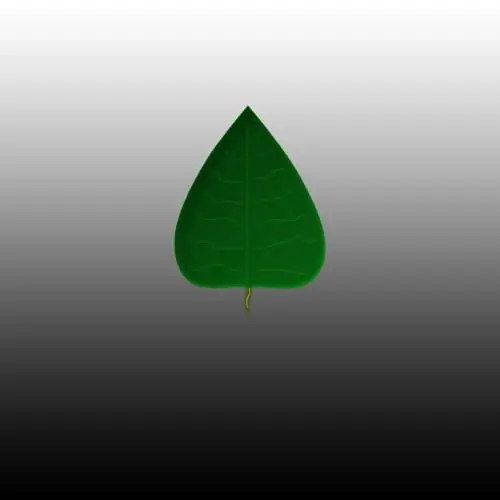
Easels, watercolors and brushes are not the only tools of the contemporary artist. For example, you can draw a simple birch leaf using Adobe Photoshop.

It is necessary
Russified version of Adobe Photoshop CS5
Instructions
Step 1
Open the program and create a new document: click the menu item "File"> "New" (or use the hot keys Ctrl + N), in the fields "Width" and "Height" specify, for example, 500, and click "New".
Step 2
Make the base color 075a0f. Select the Freehand Shape tool (hotkey U, switch between adjacent elements Shift + U), click on the "Bitmap Dot Shape" setting, select a drop from the options provided, and then draw this drop in the center of the document. Press Ctrl + T, a frame will appear around the object.
Step 3
Right-click the space inside it and select Warp. A deformation mesh appears on the drop. Position the bottom right and left handles of this grid so that the blob looks like a leaf. When finished, press Enter.
Step 4
In the Layers panel, right-click on the leaf layer and select Blending Options. In "Inner Shadow" set "Blending Mode" to "Normal", "Transparency" - 35%, "Offset" - 9 pixels, "Shrink" - 0%, "Size" - 18 pixels, other parameters are default. In the "Inner Glow" item, specify the "Blending Mode" - "Dodge the Basis", "Transparency" - 55%, in the "Elements" parameter, the "Size" value is 5 pixels, the rest is default. In the "Gradient Blending" item set the "Blending Mode" - "Multiply", "Transparency" - 40%, a check mark next to "Inversion", "Angle" - 135 degrees, the rest is default. When finished, click OK.
Step 5
Create a new layer (Shift + Ctrl + N) and make the foreground color 138919. Select the Brush tool (B, Shift + B), set its size to 1 and draw veins on the sheet: the central one and coming from it. Set the blending mode of this layer to "Color dodge". Click the menu item "Filter"> "Blur"> "Gaussian Blur" and in the "Radius" field set from 0.5 to 0.8.
Step 6
Create another layer, make the foreground color 545210, select the Brush tool and paint a stem near the leaf. In the list of layers, move the stem layer below the leaf layer.
Step 7
To save the result, press the Ctrl + Shift + S hotkeys, set the path for the picture, write a name for it, specify Jpeg in the "File type" field and click "Save".


