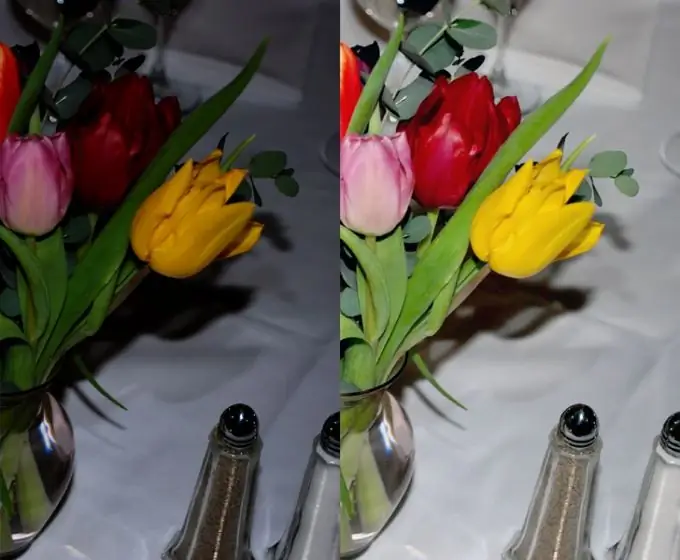
To improve photography, you need to identify and emphasize the merits of the captured scene, as well as remove the shortcomings of the camera. It is important to adjust the basic parameters here: correct framing, harmonious colors, sufficient illumination and contrast of the picture.

It is necessary
Any photo editor program
Instructions
Step 1
There are basic photo editing tools in any photo editor. Take, for example, Microsoft Office Picture Manager, which is part of the popular Microsoft Office suite. Right-click on the photo file and select "Open With" - "Microsoft Office Picture Manager".
Step 2
From the top toolbar, select Edit Pictures. A window with available editing operations will open on the right. Try pressing the "Auto Adjust" button, perhaps its action will be enough to improve the photo. If you don't like the result, cancel the action by pressing Ctrl + Z and adjust the brightness, contrast and tone in manual mode by moving the corresponding sliders left-right. Remove the red-eye effect with the appropriate tool.
Step 3
Check if you need to rotate the photo a few degrees in case you held the lens unevenly while taking the picture. Be guided by the horizon line, if there is one in the photo, or by the location of vertical and horizontal objects. After rotating, crop the photo by dragging the corner handles of the crop lines. When framing, try to align the center of the frame with the main subject in the photo, but do not get carried away with cropping, so that the plot does not disappear.


