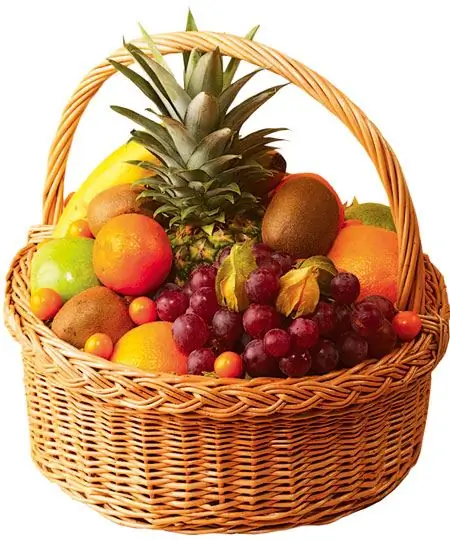
If you dream of learning how to draw colorful illustrations, but don't know how to work with brushes and paints, it doesn't matter: you can master computer graphics using the example of Adobe Illustrator and a simple but effective illustration with a basket of flowers. Even a novice Illustrator user who is just starting to master computer graphics can draw such a basket.

Instructions
Step 1
Create a new document and select the Ellipse Tool from the toolbar. Hold down the Shift key to maintain the shape's proportions, and draw an even circle with a gradient fill (choose a radial gradient of any color for the fill to make the circle appear three-dimensional).
Step 2
After that select the Rectangle Tool option from the Toolbox and draw a wide rectangle covering the top of the circle. Select the circle along with the rectangle, then open the Window menu section and call the Pathfinder menu.
Step 3
Click on the Subtract from shape area command, then click on the Expand item to subtract a rectangle from the circle. You now have the bottom of the future basket. Click on the Pen Tool icon in the toolbar and draw with the help of curves the upper rim of the basket in the form of a narrow curved rectangle, the edges of which slightly go beyond the semicircular base.
Step 4
Now draw a narrow oval with the Ellipse Tool and place it over the rim of the basket, forming its back wall. Cover the oval with a linear gradient, creating areas of light and shadow. Now draw a curved basket handle with the Pen Tool and finally move on to drawing flowers.
Step 5
Select the Polygon Tool and adjust it by setting 10 faces of the future shape with a radius of 20 pixels. Draw a polygon by clicking OK. Click on the polygon and then open the Filter menu and select the Distort -> Pucker & Bloat option, setting it to 40%. You will have a shape that resembles a flower.
Step 6
Draw the middle of the flower with a contrasting color by selecting the Ellipse Tool and holding down the Shift key. Group the flower by selecting it and choosing the Group option. Draw any number of flowers in the same way, paint them in different colors and place them in different order inside the basket.
Step 7
Change the number of flower petals in the polygon settings, and the length of the petals in the filter settings. Fill the basket with flowers, and then select the flowers that cover the basket handle and right-click on them. Click on the Arrange -> Send Backward button. The basket handle moves to the front.


