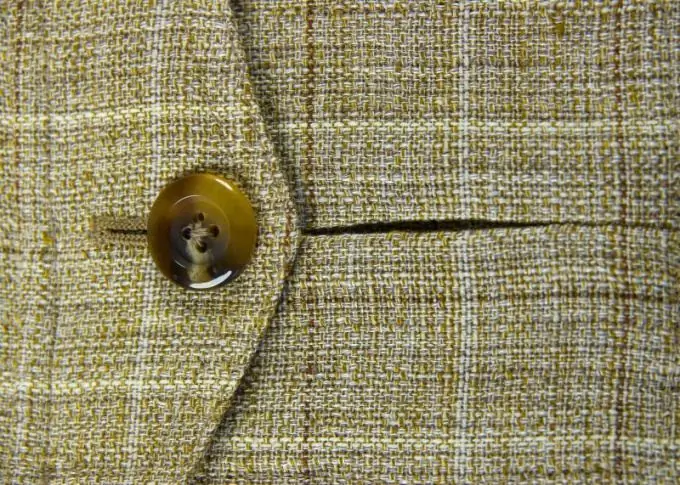
If you are a sewing or repairman, then you will probably need some skill in buttonholes. Such a fastener can be made by hand, as well as on an electric and mechanical sewing machine. How to mark the loops on the garment and overcast them so that it looks beautiful?

Instructions
Step 1
Before making the loops, you need to determine their location on the clothes. The distance between the cuts will depend on the type of fastener, diameter and number of buttons. There are subtleties here that need to be completed so that the sewn clothes look beautiful and are comfortable to wear. The top buttonhole should be at the distance of the button's diameter from the edge of the garment. At the waist, the slit can be omitted if the garment has a belt. But on the chest line, a button with a loop must be mandatory, if the style provides for it. We mark the rest of the slots at an equal distance from each other.
Step 2
Pay attention to the size of the hardware that needs to be sewn to the product. The length of the buttonhole should be slightly larger than the diameter of the button (approximately 0.3 - 0.5 cm). Mark a line for the cut from the front of the product. The loop can be horizontal, vertical, or oblique.
Step 3
If you decide to sew a buttonhole by hand, first sew a rectangle around the marked line with small stitches. Select threads that are suitable for the product in color. The distance from the line to the stitches should be approximately 3 mm. Next, place a piece of cardboard under the future loop and make an incision. Sew the resulting edges with long diagonal stitches that should not go beyond the edges of the rectangle. Processing occurs "over the edge" around the incision. Leading the thread and needle inside the hole, form a loop from each stitch, as if fixing the step. Make a few wide stitches around the edges of the buttonhole and tie a knot on the thread from the wrong side of the garment.
Step 4
If you are sewing a buttonhole with a sewing machine, then the hole is made only after all the stitches have been made. First, also mark the lines of the slots on the product. Select the zigzag sewing mode on the machine. Set the length of the stitch of the device to "zero" in length, and select its width depending on the degree of shedding of the fabric. First overcast the left side of the buttonhole. The distance from the marked line to the stitch should be approximately equal to the thickness of the working thread. Sew five bartack stitches at the edge of the buttonhole. To do this, raise the needle and increase the step width of the machine to the maximum. Next, overcast the second side of the loop in the same way and make a similar bartack at the end. If the fabric is rough, cut the hole twice to reinforce the buttonhole. Putting a cardboard under the material, carefully cut the fabric with sharp scissors along the line marked in advance. You now have a neat loop.


