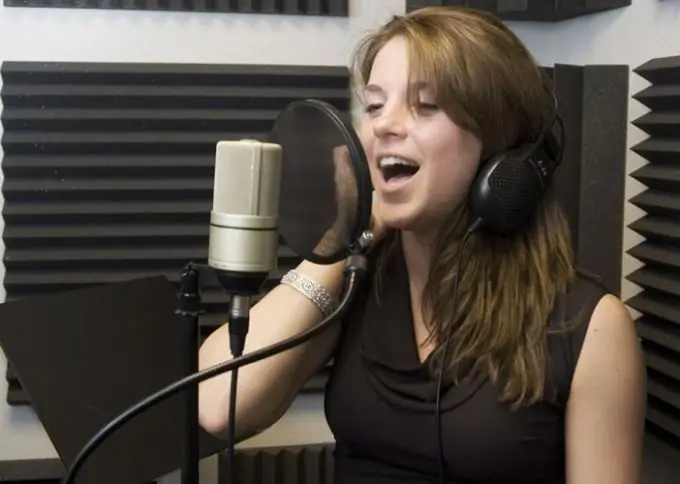
You can fully dub your own movie at home. To do this, you need to record the characters' lines and voiceover text, process the recording and combine it in the audio editor with other files that make up the audio track of the video.

It is necessary
- - video;
- - directional microphone;
- - pop filter;
- - text editor;
- - Adobe Audition program.
Instructions
Step 1
Collect the text that you are going to overlay on the video into one file. Adjust the formatting of the document so that no replica breaks up into fragments located on different pages. Print the prepared file and secure the sheets so that you can easily see the text while writing.
Step 2
Attach the microphone to the stand or position it so that it does not touch the body during operation. Place a pop filter in front of the microphone to help neutralize plosive consonants when recording. Such a filter can be made of thick tights, in two layers stretched over any frame of a suitable size, like a small hoop.
Step 3
Connect your microphone to your computer. Launch Adobe Audition and select Edit View from the Workspace list. In the window that opens with the Windows Recording Mixer option from the Options menu, select the input through which the microphone is connected and adjust the volume. Use the Ctrl + N keys to create a new file in the editor and specify the sound parameters: sampling rate and number of channels. To start recording, click on the Record button in the Transport palette.
Step 4
Record a few seconds of silence before reading the text. You use this snippet in post-processing to capture the noise profile. Being at least twenty centimeters from the microphone, read the text. This is best done while standing. If you mispronounced a phrase, read it a second time. When editing, the spoiled take will be cut out.
Step 5
When finished recording, click on the Stop button of the Transport palette and save the file to the hard disk using the Save option of the File menu.
Step 6
Select the area of the recording before the beginning of the text and grab the noise profile from it using the Alt + N combination. Use the Noise Reduction option in the Restoration group of the Effects menu to remove background noise from the recording. Use the Normalize option of the Amplitude group in the same menu to level the sound volume.
Step 7
Listen to the resulting recording. Select and delete the damaged fragments with the Delete key. Cut the recording into separate phrases by selecting the desired fragment and applying the Cut option of the Edit menu. To paste sound into a new file, use the Paste to New option of the same menu.
Step 8
In the Workspace field, switch to Video + Audio Session mode. Use the Import option of the File menu to load the movie you are dubbing into the editor. If in the Files palette only files with icons in the form of a sound wave are visible, use the Show video files button from the bottom of the palette.
Step 9
Click on the file with the film-shaped icon to bring up the context menu and select the Insert Into Multitrack option. The original video sound will appear on one of the tracks in the editor window, and the image will be visible in the Video palette.
Step 10
Place the cursor on the fragment from which the first voiceover phrase should begin, and insert the file with the desired text using the Insert Into Multitrack option into one of the audio tracks. To change the start time of the phrase, hold down the right mouse button and drag the file along the track. Paste the rest of the fragments in the same way.
Step 11
To combine the recorded sound with the original or background music included in the soundtrack of the movie, you will need to change the volume in some parts of the tracks. This can be done by constructing an envelope curve using key points. Place the cursor over the line at the top of the track and click on it. By moving the created point down, you get a smooth decrease in the volume on the selected track from the beginning to the inserted point.
Step 12
If it turned out that the phrase was pronounced too quickly, click on the desired track and call the context menu. Selecting the Edit Source File option will return you to the editing window, where you can apply the Stretch option in the Time / Pitch group of the Effects menu to change the sound speed of the fragment.
Step 13
To save the video with the new audio, return to Video + Audio mode and select the Video option in the Export group of the File menu. If you want to keep only the audio and insert it into the movie using another program, use the Audio Mixdown option.


