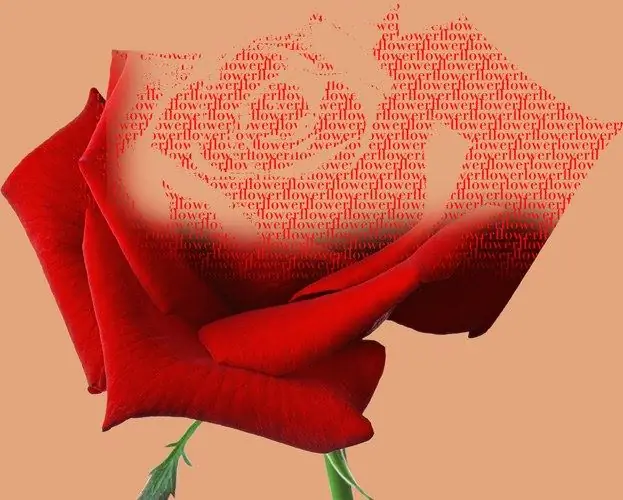
Contrasting images with crisp outlines against a uniform light background can be turned into spectacular images of text or any other characters using several tools in Photoshop.

It is necessary
- - Photoshop program;
- - image.
Instructions
Step 1
Load the picture that you are going to transform into a drawing from symbols into the graphic editor. For this purpose, an image of a face, a silhouette of an animal - in a word, any object located on a solid background is suitable. If the picture lacks contrast, correct it using the Brightness / Contrast option in the Adjustments group of the Image menu.
Step 2
To get well-readable contours on the image, you can duplicate the image using the Layer via Copy option of the New group of the Layer menu and superimpose the resulting copy on the background image in Color Dodge or Linear Dodge mode. Add a new transparent layer to the document using the Layer option from the New group, and paint over all unnecessary areas using the Brush tool. Select the shade the background is painted with as the base color.
Step 3
Create a layer containing all visible fragments of the processed image by pressing Ctrl + Alt + Shift + E. If you haven't created additional layers, just copy the background image.
Step 4
Apply the Threshold option of the Adjustments group of the Image menu to the copy of the image layer. Adjust the image so that the resulting black-and-white image is sharp.
Step 5
Turn on the Magic Wand tool and select the white parts of the image with it. Delete them with the Clear option of the Edit menu.
Step 6
With the Horizontal Type Tool create a text area. To do this, click on the upper left corner of the picture, hold down the left mouse button and drag the area frame to the right and down so that it covers the entire picture. Fill the entire text area with a set of characters by entering them from the keyboard or by copying from a text editor. The smaller the size of the entered characters, the more distinct the drawing will be.
Step 7
Cover part of the text layer with a mask. To do this, go to the layer with black outlines of the picture and load the selection with the Load Selection option of the Select menu. Invert the resulting selection using the Invert option of the same menu and create a mask for the layer with signs based on it. To do this, go to the text layer and click on the Add layer mask button.
Step 8
Hide all layers except the text to see the result. As a background for the image, create a layer filled with color, on which the characters that make up the image will be clearly visible.
Step 9
Save the resulting image using the Save As option of the File menu.


