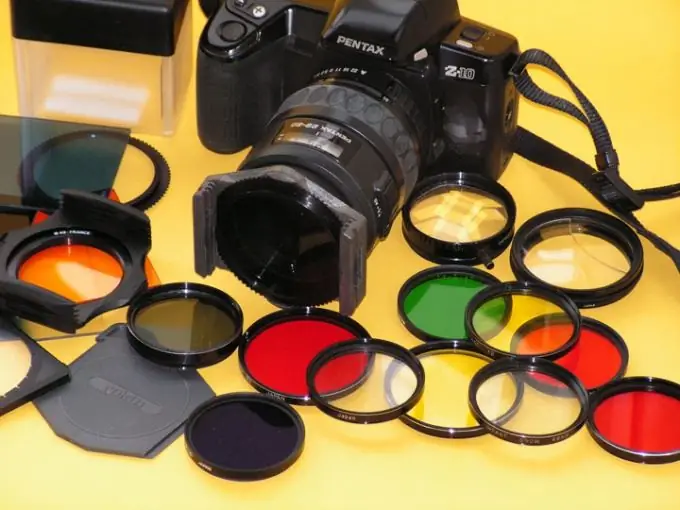
The art of photography requires not only the specific skills and abilities of a photographer, but also special equipment, which often has to be done on your own due to the inability to often purchase components for shooting in stores. Original and beautiful photographs are obtained by photographers who use an infrared light filter when shooting. You don't have to buy such a filter from a store - you can make it from a regular CD.

Instructions
Step 1
To make a light filter, find a black plastic backed CD. First, prepare the disc for use - remove all layers from its surface except the polycarbonate black backing. To do this, use any sharp object to make a scratch from the center of the disc to the edge, scratching all layers except the bottom.
Step 2
Then place the disc under a powerful stream of tap water - the surface will be cleaned efficiently and accurately. Be careful not to touch the cleaned surface of the disc with your fingers and cloth.
Step 3
Using a sharp knife or cutter, cut from the plastic backing of the disc several round plates of the same size, corresponding to the diameter of the frame of an ordinary safety filter (maximum 52 mm).
Step 4
For the best effect when shooting, install three layers of black plastic at once in the frame - in this case, the light filters will retain light qualitatively and only let through the red shades.
Step 5
Try to photograph any landscape with the filters installed, and then open the resulting photo in Adobe Photoshop and in the channels palette divide the image into color channels, highlighting red.
Step 6
This channel must be completely exposed. Thus, in the end you will get a photo that has all the characteristics of infrared images.


