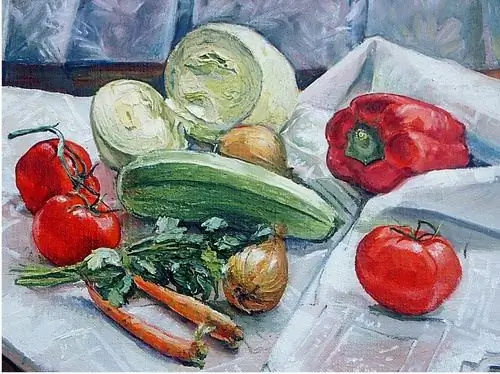
The gifts of nature - vegetables and fruits - are a favorite motive and indispensable attributes of a classic still life. They inspire venerable artists to create luxurious masterpieces and serve as the simplest teaching aids for those who are just starting to take their first steps in painting, thanks to their simple, clear form, which is very convenient to polish drawing skills. Possessing a natural juicy color and various textures, vegetables and fruits are indispensable for teaching painting techniques and working with color.

It is necessary
- - watercolor paper;
- - pencil, eraser;
- - watercolors and medium round brush.
Instructions
Step 1
Before you start drawing, take a closer look at the vegetable that you want to portray. What shape is it? If the shape is complex, then define a simpler shape that you can fit it into. For example, if a radish fits into a circle or an oval, draw these geometric shapes on paper and, referring to the shape of the nature, give the circle more natural shapes - irregularities, widening of the top of the root crop, narrowing at the tail. Draw in a long, curved ponytail and haulm leaves. Leaves can be drawn using ellipses and triangles curved by tongues as a basis, in which you need to make wavy contours, and depict thick veins in the center of the leaves.
Step 2
Beets are drawn in a similar manner to the one described above. True, beets are larger than radishes and often have a more irregular or complex shape. For example, some of its roots may resemble a heart.
Step 3
To draw a bow, use a circle or oval again. Then adjust this shape by drawing in wider sides at the bottom of the bulb. At the top, add a jagged line for the base from which the green shoots of the onion grow and connect it with a smooth line to the base circle. Draw the shoots themselves in long, feather-like shapes. Draw small root strings at the bottom of the bulb. Apply subtle strokes in the shape of the onion, imitating the texture of its surface.
Step 4
For the carrots, draw a highly elongated ellipse. Expand one end a little, and narrow the other and draw a thin tail to it. At the wide end, place the cut leaves in a trapezoid shape with a zigzag base line. Use short triple or double strokes to draw the slightly “hairy” surface of the carrot.
Step 5
Cabbage, although it has a rounded shape, is the most difficult to execute, especially if its leaves are not collected in a tight head of cabbage. Draw a circle on the paper - the basis for the image of the cabbage. At the top of the head of cabbage, draw a smaller circle - this is the rosette formed by the tops of the folded inner leaves. Divide the main circle with smooth, rounded lines into several parts, depicting the layers of the outer leaves. Draw how they fold outward. Make the edges of the leaves wavy (scalloped).
Step 6
It is better to paint vegetables with watercolors, using the pure main color of the vegetable and darkening it in the shadows. For glare, just leave the white paper intact. Use several shades of green for the tops to create a realistic and picturesque drawing.


