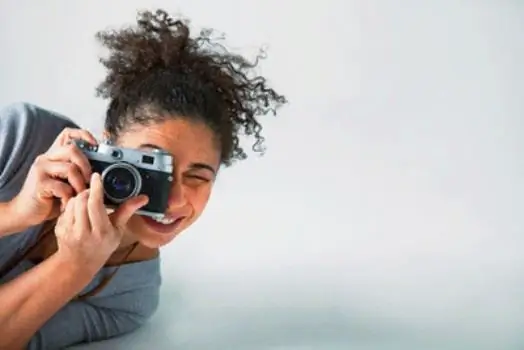
It is customary to take photographs for documents in a professional studio, but not everyone has the opportunity to get there. In addition, many are embarrassed by the unusual environment and the photo turns out to be rather unnatural. In order not to be intimidated by your own image in your passport, you can try to take a photo for documents at home.

It is necessary
- - Neutral background;
- - Camera;
- - Bright room.
Instructions
Step 1
To take an ID photo, you will need a solid background in a neutral color. Better white or light gray. The background can always be corrected in Photoshop with a couple of mouse clicks, so its initial color does not play a big role.
Step 2
The background should be relatively large. It will have to be moved so far back that the shadow from the model's head does not fall on it.
Step 3
You can use artificial lighting, but if you do not have experience in setting light, do not risk it. Natural light pouring from a large window is perfect for shooting.
Step 4
Have the model sit facing the window and make sure there are no unnecessary shadows on her face or in the background.
Step 5
Ask the model to sit up straight, straighten her back, straighten her shoulders, and adopt a neutral facial expression. Take some test shots.
Step 6
The documents in the photo usually involve shooting a bust portrait. See how the model fits into the frame. Do not clamp the space, you will always have time to cut off the excess in a graphic editor.
Step 7
Focus on the model's eyes. Keep your eyes, nose, and lips in focus. Take a few pictures and proceed to the processing of the photo in the editor.
Step 8
Process the picture, bring it to the required standards. A standard passport photograph should be 35 x 45 mm. Crop the frame to the size you need and send to print.


