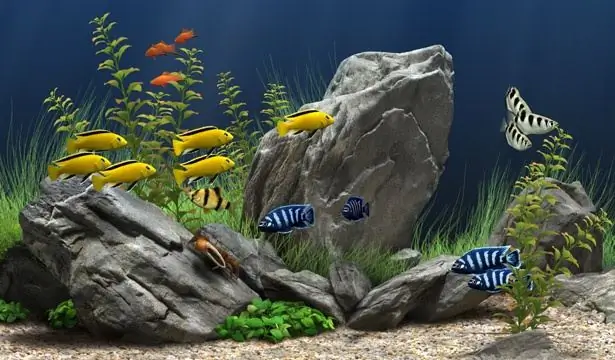
It is quite difficult to get clear and beautiful photos of the aquarium, since the fish are constantly in motion. Pictures are best taken with a DSLR camera with a tripod or some other support.

Instructions
Step 1
Decide on the focal length and distance to the camera lens. A zoom lens with a focal length of 18 to 55 millimeters is most suitable for shooting an aquarium. Set in the settings the minimum approximation of your lens, then the largest area of the aquarium can fit in the frame.
Step 2
Switch the camera to manual settings mode, since only with its help you can set all the values necessary to obtain a high-quality photo. Automation will most likely not give a good result.
Step 3
Select the value of the matrix sensitivity, which is denoted by "iso". The higher the value, the faster the shutter speed you can set, which will greatly reduce the chances of getting a blurry photo, but it can turn out to be a little grainy. This defect can be easily removed using any post-processing program. Therefore, it would be preferable to stop at the iso value of 400.
Step 4
Set the aperture to the middle value. With a good depth of field, you will be able to frame most of the aquarium. A high aperture number will make the photo too dark.
Step 5
Set the shutter speed to a sufficient shutter speed to avoid blurring moving objects or blurring your photograph. It can range from 1/30 to 1/50 of a second. Experiment and evaluate the result. If your photos are too dark at slow shutter speeds, decrease the aperture value.
Step 6
Shoot the aquarium indoors with the lights off. Take pictures of nimble fish in the Sport mode, and for the general shot, the Landscape mode is the best option. It is preferable to place the camera on the side so that the reflected light of the flash from the glass of the aquarium does not enter the lens. Once the camera is fixed in a stationary position, you can start shooting.


