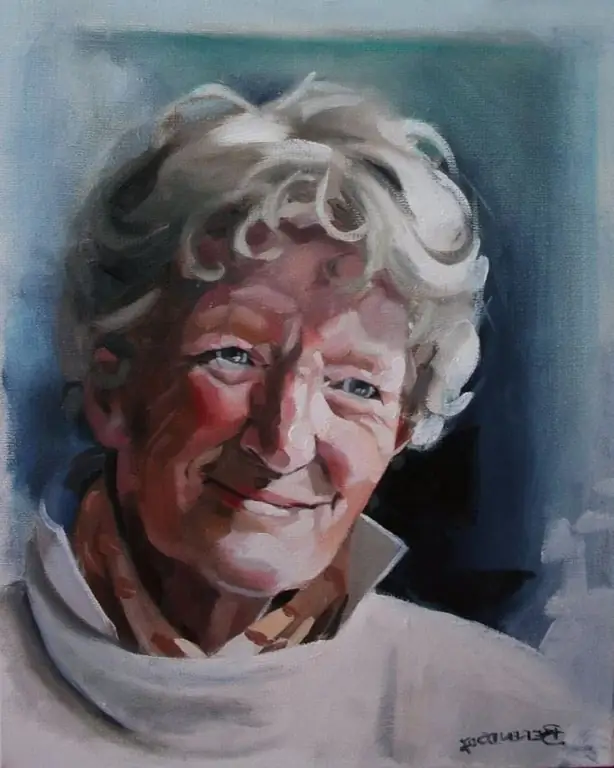
To draw a person's face, you need charcoal, as it is a very plastic material, a sheet of Whatman paper, an easel and, preferably, a model.

Instructions
Step 1
First, seat the model correctly. The face should be slightly turned away from the light source.
Step 2
Outline the general features of the composition. Draw an oval, outline the neck, see how the head is inserted into the neck, the shoulder girdle, so that the entire plane of the sheet works. Draw the main axes - you should know where the eyes, nose, lips will be. So that one eye is not taller than the other, so that symmetry is observed.
Step 3
Why outline the shoulder girdle? After all, the head is not in an airless space.
Immediately apply light and shadow to add volume to the face. Do not be afraid to lightly shade the shadow area with charcoal. Sculpt the shape of the face in tone. Select the nasolabial fold, all the features of the person's face, give it your own character.
Step 4
Stand at a great distance from the model. After all, if you stand close, you will see individual facial features, and not the entire composition as a whole. Standing far away, you can measure, for example, a nose with an outstretched hand. How it relates to other facial features. Measure its length from base to tip and see how many times it fits into other facial features. Vertically from the chin to the nose and from the base of the nose to the hairline. Also measure the width of the face, if you drew the left and right half correctly. To do this, measure the distance from the ear to the cheekbone on an outstretched arm and measure the same distance from the chin. Remember where it ends. Now do the same in the picture and adjust the width of the face if necessary.
Step 5
Hair drawing. See how much darker hair is than skin, eye color. There is definitely a general glare on the head. Indicate how the light falls. Don't be afraid to generalize. With the eraser, you can adjust how the light falls - on the nose, on the cheekbone, on the forehead and along the hair. Do not forget to shade the darkest places on the hair, on the eyebrows, on the eyelashes. Then the head becomes more alive. You can add a little sloppiness to give a liveliness to the hair and draw it in general. The neck and shoulders do not need to be seriously worked out so that they do not compete with the face.
Your portrait is ready.


