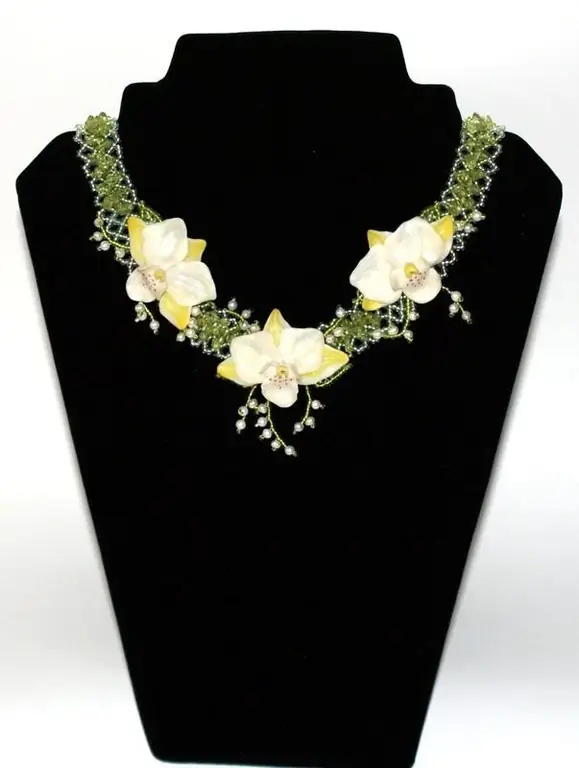
Most authors of works of art, be it a beaded necklace or a picture on glass, have to photograph their works on their own in order to show them later to the world. This section of photography is not difficult to master, as it consists of a number of simple rules.

Instructions
Step 1
The background should be solid, contrasting color with respect to the product. The most common is a white sheet of paper. Before shooting, adjust the white balance so that the sheet is truly white.
Gloss on such a sheet is excluded, since the reflected light will glare. Better buy matte, slightly velvety paper from a specialty art store. Do not use small patterns either.
Step 2
When shooting on a dummy, place the background (sheet of paper) behind the dummy so that there is no angle between the vertical and the horizontal (the sheet seems to be round). Select the size of the sheet depending on the angle of the photo.
Step 3
Daylight is ideal for lighting. Position yourself in the direction of the light so that the light hits the product and not the lens. When using artificial lighting, use at least two lamps with a power of more than 100 watts. Light sources should be located on the sides, so that the product does not cast shadows (more precisely, so that the shadow is not visible). Do not shine light into the lens.
Step 4
Adjust the white balance (sometimes called brightness) after each change in the angle or position of details so as not to distort the gamma of the frame. After pressing the “WB” button, aim the lens at a white or gray (depending on model) background and press the shutter button. The camera will correct the colors.
Step 5
Use macro mode. In this case, you can clearly convey the small details of the product, fix the play of light and color. This is especially true for products with a small but very beautiful pattern. In normal shooting mode, you can lose focus and blur the frame.


