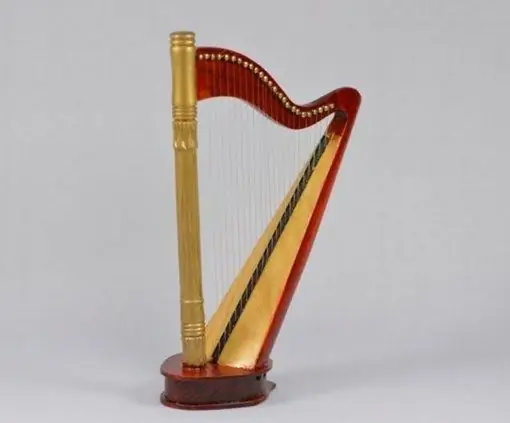
Drawing musical instruments sometimes seems quite difficult for novice artists. The task will not seem so difficult if you carefully consider what you would like to draw. Almost every musical instrument can be represented as a combination of several geometric shapes.

The harp is just a triangle
Look at the harp from the side the musician usually sits on. You will see that it most resembles a triangle. It is with him that you need to start drawing. The harp is a rather tall musical instrument, so it is better to lay the sheet vertically.
It is more convenient to draw musical instruments with a simple pencil. More precisely, a few pencils - very hard and medium soft. The first is needed for constructions, which in this case are not much different from the drawing, the second is for tracing contours and drawing details.
Draw a short, straight horizontal line some distance from the bottom edge of the sheet. This is necessary to determine the location of the center column. It is better to place the strip closer to the left vertical edge of the sheet. Draw a long vertical line.
When drawing, a ruler is usually not used, but an exception can be made for the depiction of musical instruments, especially if you need a sketch for application.
Draw a right angle
Mark the height of the harp on the vertical line. Draw a horizontal line from this point. The length of this new segment is about a third of the height of the musical instrument. Make a mark and draw another vertical line from this point with a thin pencil. On it, set aside a distance approximately equal to half of the upper horizontal. Connect this point with straight lines to the ends of the original vertical line. You now have the base for the harp.
It is better to do preliminary constructions with a very hard pencil, barely noticeable lines.
The sketch is ready
Draw an upper slanted line. It most of all resembles the upper part of the sleeve pattern and consists of two arcs. The convex part of the upper arc is directed upward, and the lower part is directed downward. There may be other design options, so you will have to choose the best one. For example, this line might look like the top of a heart.
Draw the inner frame of the harp. Its contour exactly repeats the outer one. If you want to give the harp volume, draw another contour line - between the existing ones. Draw several strings parallel to the column. Decorate your harp with ornaments.
Volume can be given to it using hatching. There are several options for overlaying strokes. For example, you can overlay horizontal arcuate strokes close to the vertical column lines. If the hatching is vertical, it will be denser near the contour lines and less often in the center.
A separate topic is a sketch for an applique. In this case, you do not need to hatch anything. You don't even need strings. Draw an outline, cut it out of cardboard and cover it with foil. The strings can be made from lurex - it will be a great gift for the New Year.


